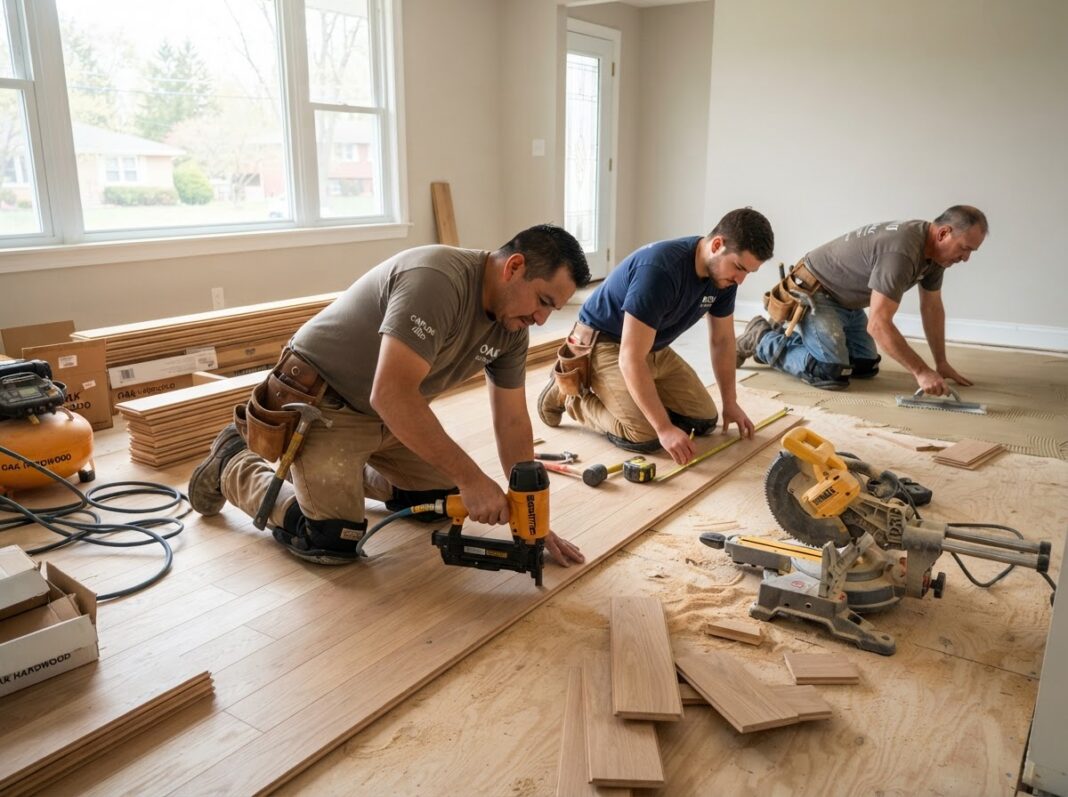

Homeowners can see the finished flooring. They may not see the assessment, surface preparation, and corrective work that happened underneath it. Photos and short videos of subfloor preparation help connect your installation price to the actual condition of the job—not just the square footage being covered. Flooring industry guidance recommends documenting subfloor conditions and clearly explaining which preparation is included in an estimate and which requires additional work.
The goal is transparency: helping customers understand what they are paying for before the finished floor hides the work.
Make the Hidden Work Visible
“Subfloor preparation” can sound like a vague charge until you show what it involves.
Depending on the substrate, flooring product, and installation method, preparation may include assessing irregularities, testing moisture, cleaning the surface, and correcting conditions that affect the installation. The International Standards & Training Alliance identifies assessment, moisture testing, and surface preparation as distinct areas of subfloor-preparation expertise.
A photo or short clip can make those tasks easier to understand:
- A straightedge or measuring tool showing an uneven area.
- A high spot before and after correction.
- A low area before and after patching.
- Surface cleaning or preparation before an adhesive application.
Pair each image with a plain-language explanation of the condition and the work required. The picture supports the explanation; it should not have to carry the whole message.
Explain Why Similar Rooms Can Have Different Prices
Two rooms with the same square footage can require different amounts of preparation. One substrate may need only routine work, while another requires more extensive correction.
Flooring estimating guidance distinguishes normal preparation from additional work and recommends explaining how added labor, materials, and time affect the price.
That gives you a clearer way to discuss a quote:
“This section of the estimate covers correcting the areas we measured outside the requirements for your selected flooring. These photos show the conditions we found and where the preparation is needed.”
Use that wording only when it reflects your actual assessment. The point is to connect the charge to documented work rather than rely on “That’s our installation rate.”
Connect Preparation to the Installation Requirements
Preparation is not simply an optional cosmetic step. Flooring installation guidance addresses substrate conditions, flatness, and moisture because they influence whether the selected flooring can be installed appropriately. NWFA’s wood-flooring guidelines, for example, include subfloor assessment and preparation requirements.
Be precise when explaining them. A floor often needs to be flat, but it does not necessarily need to be level; those are different conditions. NWFA explicitly makes that distinction for wood flooring.
Rather than saying every floor must be “perfectly level,” identify the requirements that apply to the actual flooring, substrate, and installation system. This keeps your explanation technically relevant and avoids presenting one product’s requirements as a universal rule.
Give Measurements and Test Results Context
A photo of a meter or measuring tool can show that an assessment took place. It does not automatically explain what the reading means.
For wood flooring, industry guidance recommends measuring subfloor flatness and using those findings to demonstrate why corrective work is necessary. Wood Floor Business specifically discusses documenting imperfections as a way to explain preparation charges.
When sharing an assessment, explain:
- What was measured or tested.
- Where the condition was found.
- Which applicable requirement you compared it with.
- What action the findings support.
Avoid presenting a single image as proof that every preparation issue has been resolved. Keep the underlying measurements, test records, and project documentation.
Make Your Estimate Easier to Compare
Showing preparation can help customers compare scope—not just totals.
Your estimate should explain what routine preparation includes, which corrective work has been identified, and how additional conditions will be handled if they are discovered later. Flooring estimating guidance recommends documenting these distinctions and reflecting added work in a change order when appropriate.
A useful breakdown separates:
- Base installation work.
- Included preparation.
- Identified additional preparation.
- Allowances or unresolved conditions, if any.
Don’t assume a lower competing quote omits necessary work. Give the homeowner specific scope questions to ask so the comparison is fair.
Turn Preparation Into Useful Marketing Content
Preparation images can also explain your process before a prospect requests an estimate. A short project story might show the original substrate, the condition identified, the corrective work, and the finished flooring.
Keep the message educational rather than defensive. Instead of “This is why we cost more,” explain, “This is the preparation this particular installation required.” Documented examples make the work and its associated cost more concrete.
The finished floor shows the result. Showing the preparation helps homeowners understand the scope behind that result—and why the installation price involves more than laying the visible material.