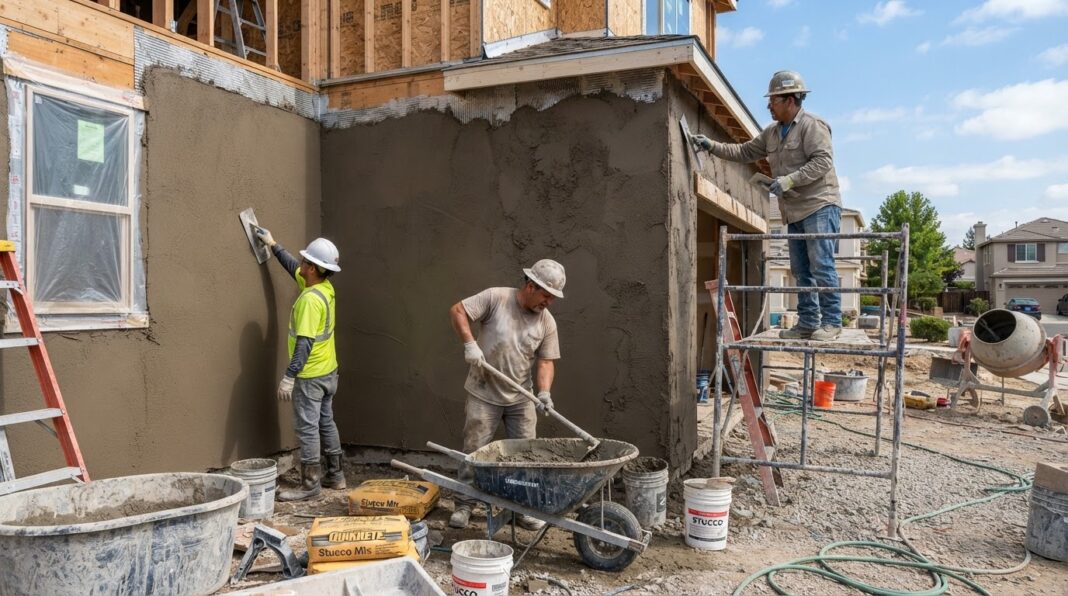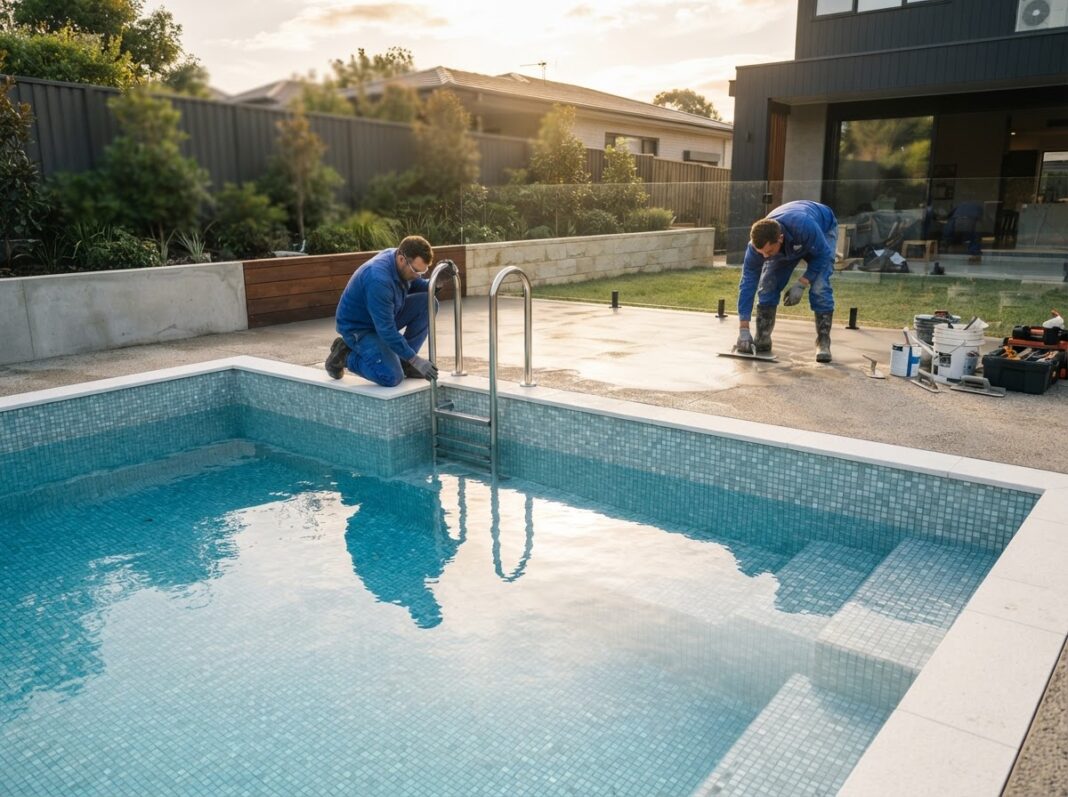
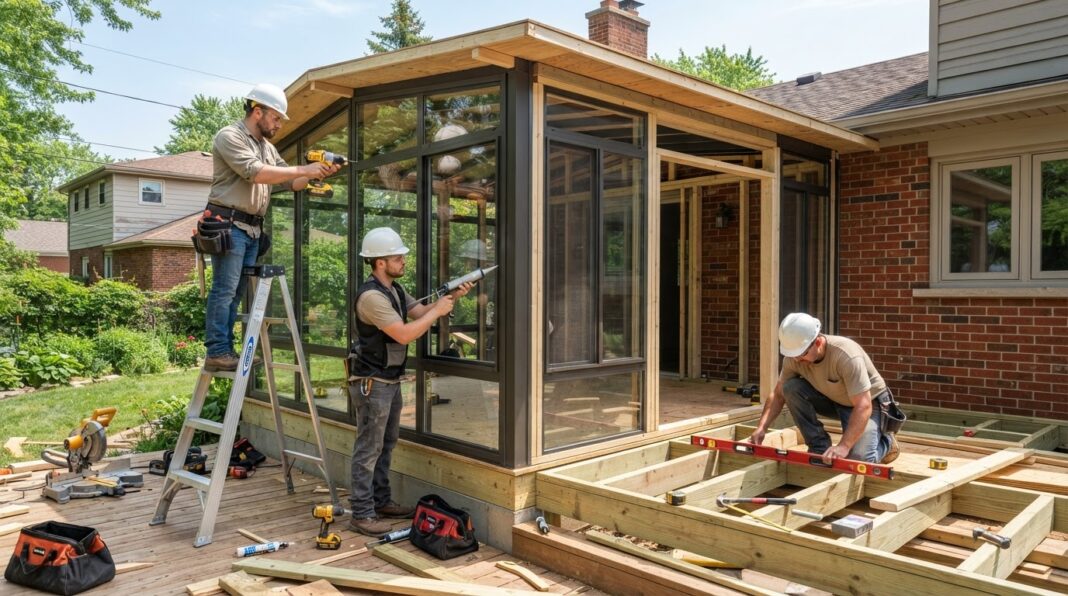

A finished sunroom photo helps homeowners imagine the result. Showing the build process helps them understand what it takes to get there: planning, site preparation, structural work, installation, and finishing. Sunroom installation guidance describes these as distinct stages, with requirements that vary by the property and project. Sharing selected stages gives prospective customers a clearer picture of your scope and what hiring your company involves.
The opportunity is understanding—connecting an attractive finished room with the work and decisions behind it.
Make the Project Easier to Follow
A furnished sunroom can make the transformation look simple. A sequence of progress photos shows how the space developed.
Depending on the project, that sequence might include the original site, foundation preparation, framing, roof and window installation, and interior finishing. Sunroom builders describe these stages as part of the construction journey, while noting that each project has its own requirements.
Add a short explanation to each image:
- What stage is shown?
- What did your team complete?
- Why was that step needed?
- What happened next?
That context is more useful than a series of unlabeled jobsite photos.
Show Work That the Finished Room Hides
Some important work becomes difficult to see after finishes are installed. Progress photography preserves a view of those stages.
Remodelers Advantage recommends documenting framing, structural changes, rough-in work, insulation, and other relevant milestones before they are covered.
For your sunroom projects, photograph the details that actually apply. Explain what viewers are seeing without suggesting that a photo independently proves structural adequacy, weather resistance, or code compliance. Those claims need appropriate specifications, assessments, and inspection records.
Explain How the Sunroom Connects to the Home
A finished interior may not show how the addition relates to the existing house.
Progress images can help explain the layout, roofline, openings, and connection points. Sunroom installation guidance notes that the framing stage makes the structure and its relationship to the home easier to understand.
Where relevant, pair an overall view with a closer image of a connection detail. Explain your actual scope and credit designers, engineers, or trade partners when they contributed to the work.
The goal is to make the project understandable—not to turn a social post into a construction tutorial.
Give Your Price and Timeline Context
A finished-room photo cannot explain every item in an estimate or every stage in the schedule.
Showing the process gives you a way to distinguish planning and approvals from active construction. Sunroom builders describe design, permitting, site preparation, construction, and finishing as separate parts of the project timeline.
Use that distinction in your content:
This update shows the framing stage after the project’s planning and approval work. Next, our team will complete the roof and enclosure work included in this scope.
Only publish dates and durations that reflect the actual project. Avoid presenting one build’s schedule as a promise for every customer.
Answer Questions Before the Consultation
Process content can help prospective customers prepare for a more useful conversation.
A short video or project story can explain how your company assesses the site, develops the scope, coordinates approvals, and communicates during construction. Residential construction marketing guidance recommends process insights, cost clarity, and portfolio examples to support customers while they research and evaluate contractors.
Describe your responsibilities accurately. Permit, inspection, zoning, and HOA requirements depend on the project and jurisdiction; do not imply that one approval process applies everywhere. Sunspace’s guidance distinguishes municipal building permits from HOA architectural approval and identifies additional reviews that may apply.
Capture the Story Without Disrupting the Work
Build a simple documentation routine into suitable projects:
- Confirm permission to photograph and publish.
- Capture the original site from useful viewpoints.
- Record selected milestones.
- Photograph relevant work before it is covered.
- Revisit the original viewpoints at completion.
- Add concise, accurate captions.
Construction photography guidance recommends planning key views in advance and capturing major milestones so before, progress, and after images form a coherent record.
You can turn that material into a website case study, a social carousel, a short walkthrough, or a time-lapse. Construction marketing guidance recommends these formats alongside explanations of what was done and why.
Your finished-room photos still matter. The build story adds what they cannot show alone: the sequence, scope, and decisions that brought the space together. Pairing both gives homeowners a fuller basis for discussing their own sunroom project with your company.